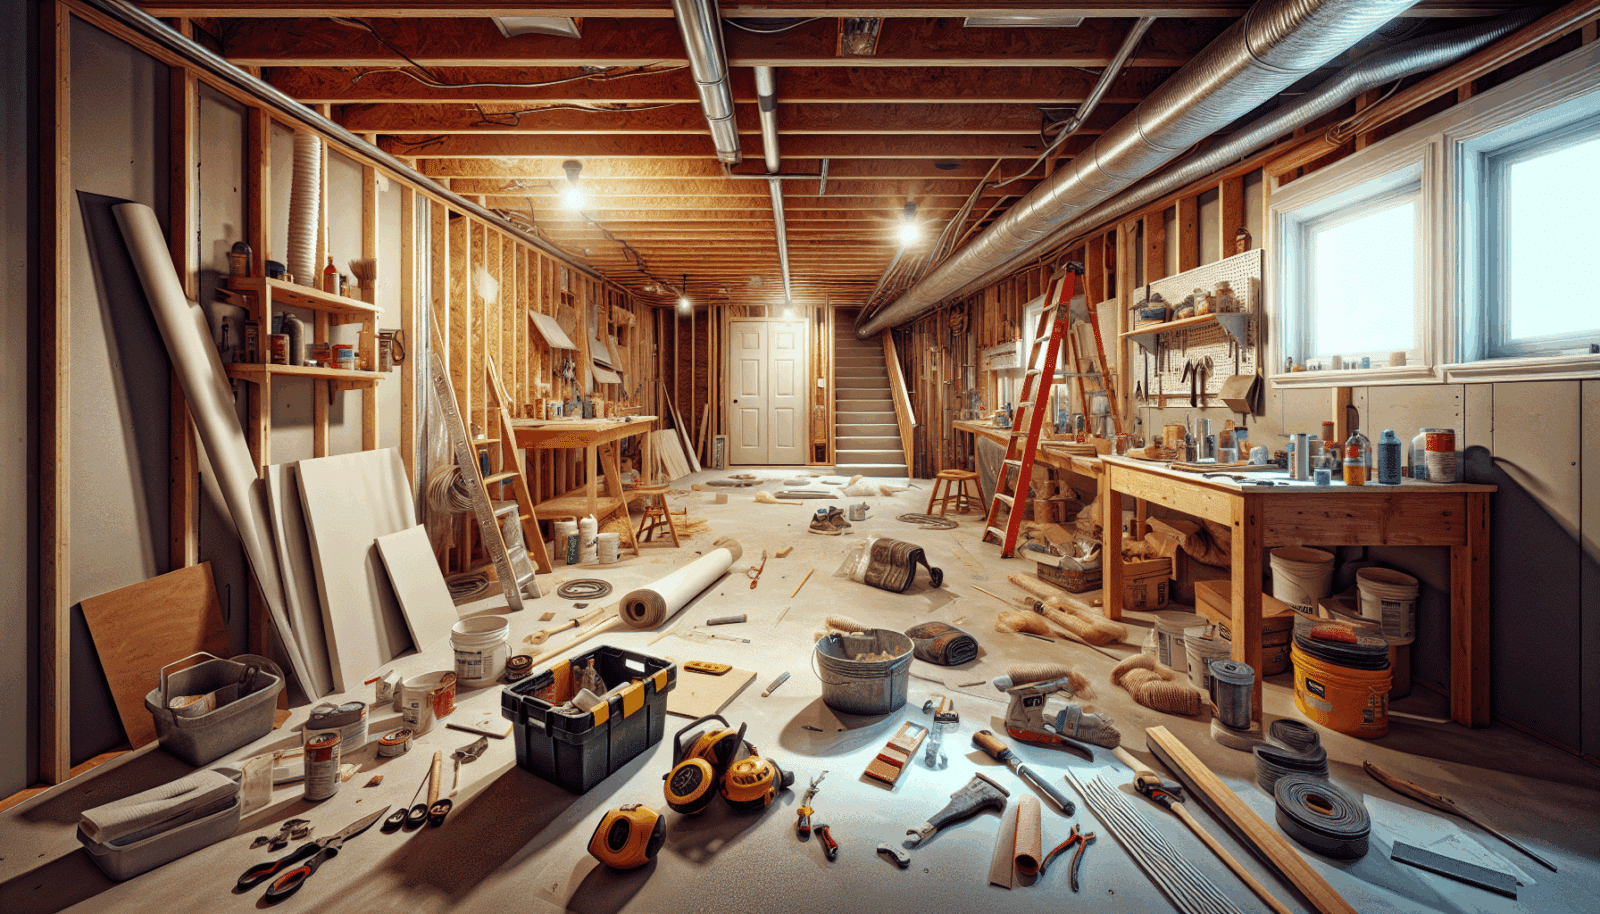
At Utah Basement Finishing, we know that transforming your basement into a livable space is a big decision. One crucial element that often leaves homeowners puzzled is the Finishing of basement walls. But worry not! In this complete how-to guide, we’ll unravel the steps to achieving beautiful finished walls, tailored just for our Utah friends.
Contents
Understanding Your Wall Options
Basement walls play a vital role in the overall comfort and usability of your space. You have several options, from drywall to wood paneling, each with its pros and cons. Drywall is popular for its smooth finish, allowing you to paint or wallpaper. Meanwhile, wood paneling offers warmth and character. Understanding these choices helps you align with your budget and style preferences.
Another option is insulated panels, which offer both insulation and finishing in one. This choice can boost energy efficiency and reduce sound transmission. Whatever you choose, consider both aesthetics and functionality. Your decision directly impacts not just look, but also the feel and utility of your space.
Preparing the Basement Walls
First, let’s tackle preparation, an essential step before applying any finish. Begin by inspecting your walls for cracks or moisture issues. Addressing these ensures that your beautiful finish lasts longer. For instance, waterproofing paint or a dehumidifier can work wonders. Solutions such as epoxy injections or sealants are effective for crack repairs.
Next, clean the surface thoroughly. Remove any dust, grime, or old paint. A clean wall ensures that your chosen finish adheres properly, leaving a long-lasting effect. Investing time in preparation might seem tedious, but it pays off significantly in durability and appearance.
Insulation Considerations
Insulating your basement walls isn’t just about keeping warm; it’s an energy-efficient decision, too. Begin by selecting the type of insulation that suits your needs. Fiberglass batts are common due to their Cost-effectiveness, but spray foam offers superior insulation properties. Reflective barriers and rigid foam panels are excellent options as well.
Ensure the insulation is correctly installed to prevent drafts and retain heat. Attention to detail during this step not only saves energy costs but also creates a cozy, inviting atmosphere. With the right insulation in place, your basement becomes a pleasant retreat year-round.
Choosing the Perfect Drywall
When it comes to drywall, size, thickness, and type matter. Regular drywall works in many situations, but consider moisture-resistant types specifically designed for basements. Green board or mold-resistant drywall could be wise investments, keeping humidity at bay.
Select the appropriate thickness—a standard 1/2-inch works in most basements. However, thicker panels can offer additional soundproofing. Weigh these considerations carefully to make an informed choice that enhances both form and function.
Framing the Walls
Framing forms the backbone of your wall finishing project. Begin by marking the wall locations on the floor and ceiling. Use treated lumber for any wood that touches the concrete to prevent rot. Construct wall frames by attaching horizontal plates to the floor and ceiling with vertical studs in between.
Ensure accuracy by checking that everything is level and aligned. A solid frame provides structural integrity, allowing your drywall or paneling to attach securely. Taking the time to perfect your framing guarantees both stability and a smooth finish.
Installing Drywall
Now, let’s install the drywall—a significant step toward your finished basement. Begin by cutting the drywall sheets to size, accommodating any electrical outlets or fixtures. Secure the drywall to your framing using screws, spacing them appropriately to avoid bulging.
Once all sheets are in place, tape and mud the seams. This requires a bit of finesse but ensures a seamless appearance. Sand the joints smoothly before applying your chosen finish. Your walls are beginning to take shape beautifully!
Finishing Touches: Mud and Tape
Mudding and taping may seem meticulous, but it’s crucial for that flawless wall finish. Start by applying joint compound to the seams and embedding tape. Use a wide knife for an even spread. Allow each layer to dry fully before applying the next.
After several coats, sand the surface until it’s smooth. This step is vital to achieving a professional, polished look. Attention to this detail will have your walls ready to impress. Finishing touches might take time, but the result is sheer perfection.
Painting or Papering Your Walls
Finally, the fun part—adding color or texture! Choose a high-quality paint with primer to ensure even coverage and durability. Light colors can make the space feel larger, while bold tones add character.
If you prefer, explore wallpaper options. Choose water-resistant varieties suitable for basements. Whether painting or papering, these final touches reflect your personal style, turning your basement into a cozy, inviting haven.
Addressing Potential Challenges
Every project has its hurdles. Moisture, uneven surfaces, and temperature fluctuations present common challenges in basements. But don’t worry—solutions abound! For moisture, ensure proper sealing and ventilation. Uneven areas can be addressed with leveling compounds.
Temperature control is vital—consider space heaters or additional insulation if needed. Anticipating these obstacles and planning accordingly makes your project smoother. With our expertise and your commitment, you’ll tackle these challenges with ease.
Why Choose Us?
Conclusion
Ready to bring your vision to life? Contact Us today at 801-515-3473 or Request a Free Quote. Your dream basement awaits!


