The honest answer: $25 to $85 per square foot, depending on what you want. For an average 1,200 square foot Utah basement, that’s roughly $30,000 to $102,000. Most homeowners land between $35,000 and $65,000 for a quality mid-range finish.
But “it depends” isn’t helpful when you’re trying to budget. Let’s break down exactly where the money goes.
Cost by Finish Level
Basic Finish: $25-$35 per Square Foot
This gets you a functional, clean finished space:
– Standard drywall with orange peel texture
– Basic LVP or carpet flooring
– Standard paint (2-3 color choices)
– Builder-grade electrical outlets and switches
– Basic recessed lighting (enough to see, not designer)
– Simple baseboards and door trim
1,200 sqft example: $30,000-$42,000
This is what a young family on a budget chooses. Nothing flashy, but everything’s done right and to code. You get usable square footage without the premium price tag.
Mid-Range Finish: $35-$55 per Square Foot
The sweet spot most Utah homeowners land on:
– Smooth or knockdown drywall texture
– Upgraded LVP, engineered hardwood, or quality carpet
– Recessed LED lighting with dimmer switches
– Crown molding and upgraded trim
– Quality paint with accent walls
– Better fixtures and hardware throughout
1,200 sqft example: $42,000-$66,000
This is where the basement starts feeling like a real part of the house, not an afterthought. Guests won’t even realize they’re below grade.
High-End Finish: $55-$85 per Square Foot
Premium everything:
– Smooth drywall with custom textures or accent treatments
– Hardwood, luxury tile, or premium stone flooring
– Smart lighting with scene controls
– Custom built-in shelving and millwork
– Designer fixtures throughout
– Custom cabinetry and countertops
– Architectural details (coffered ceilings, wall paneling)
1,200 sqft example: $66,000-$102,000
This is for the homeowner building their forever home and wants the basement to match the quality of the main floors.
Cost by Room Type
Every room you add on top of the base finish has its own cost. Here’s what Utah contractors typically charge:
| Room | Cost Range | Why |
|---|---|---|
| Bathroom (full) | $8,000-$15,000 | Plumbing, tile, fixtures, ventilation |
| Bathroom (half) | $5,000-$9,000 | Less plumbing, no shower/tub |
| Bedroom | $5,000-$10,000 | Closet, egress window, door |
| Home theater | $8,000-$20,000 | Soundproofing, wiring, seating platform |
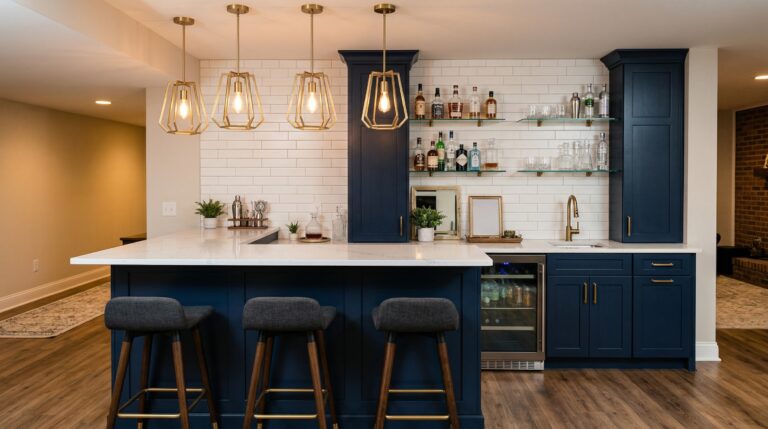
| Wet bar | $6,000-$15,000 | Plumbing, cabinetry, countertops |
| Kitchen/kitchenette | $10,000-$20,000 | Full plumbing, appliances, ventilation |
| Home office | $3,000-$8,000 | Built-ins, data wiring, lighting |
| Home gym | $3,000-$10,000 | Rubber flooring, mirrors, ventilation |
| Laundry room | $4,000-$8,000 | Plumbing, ventilation, cabinetry |
| Egress window | $3,000-$6,000 | Concrete cutting, well, window |
Hidden Costs Most People Miss
Permits: $500-$2,000
Every Utah city requires building permits for basement finishing. Salt Lake City, Provo, Ogden, and their suburbs all have slightly different fees and timelines. Budget for this and factor in 1-3 weeks for approval.
Design Changes Mid-Project: 10-20% Cost Increase
Changing your mind after framing is done is expensive. Finalize your layout before the first stud goes in.
Moisture Mitigation: $0-$5,000
If your basement has moisture issues (and some Utah basements do, especially older homes), addressing them before finishing is non-negotiable. A moisture barrier, interior drainage system, or crack sealing may be needed.
HVAC Extension: $1,500-$5,000
Your existing furnace and AC need to reach the basement. This means extending ductwork, adding supply and return vents, and possibly upgrading your system if it’s undersized. Many Utah homes built in the 2000s-2020s have HVAC rough-ins already in the basement — check before budgeting.
Radon Testing and Mitigation: $150-$1,500
Parts of Utah have elevated radon levels, particularly along the Wasatch Front. A $15 test kit tells you if you need mitigation. A mitigation system runs $800-$1,500 installed. This is a health issue, not a nice-to-have.
What Affects Price in Utah Specifically?
Labor Market
Utah’s construction labor market has been tight since the 2020 housing boom. Skilled framers, electricians, and plumbers command premium rates. This is the biggest reason Utah basement costs run slightly above national averages.
Building Codes
Utah follows the International Residential Code with state amendments. Key requirements that add cost:
– Egress windows in every sleeping room
– Specific insulation R-values for basement walls
– Smoke and CO detector requirements
– Fire blocking between floors
Geography
Where you live in Utah affects cost:
– Salt Lake County: Average — strong contractor competition keeps prices reasonable
– Utah County: Slightly below average — newer homes with modern layouts
– Davis County: Average — similar to Salt Lake
– Weber County: Slightly below average — lower labor costs
– Summit/Wasatch County: Premium — limited contractor availability, higher standards
Season
Winter (November-February) is slower for Utah contractors. You may negotiate 5-10% better pricing or faster scheduling during these months.
How to Budget: A Real Example
Scenario: 1,200 sqft basement, mid-range finish, one full bathroom, one bedroom with egress window, open living area, wet bar.
| Item | Low | High |
|---|---|---|
| Base finish (1,200 sqft × $35-$55) | $42,000 | $66,000 |
| Full bathroom | $8,000 | $15,000 |
| Bedroom + egress window | $8,000 | $16,000 |
| Wet bar | $6,000 | $15,000 |
| Permits | $500 | $2,000 |
| Total | $64,500 | $114,000 |
| Realistic mid-range | $70,000-$85,000 |
Is It Worth It?
Utah basements typically return 65-75% of their finishing cost in home value. But the real ROI is in livability — you’re adding 800-2,000 square feet of usable space to your home at a fraction of what building an addition would cost ($150-$300/sqft for above-grade additions).
Use our cost calculator for a quick estimate based on your specific selections, then schedule a free in-home quote for exact pricing.
Ready to Start Your Basement Project?
Get a free, no-obligation quote from Utah's trusted basement finishing experts.
Get Free Quote